How to Fix Windows Couldn’t Connect to the Printer When Sharing a Printer

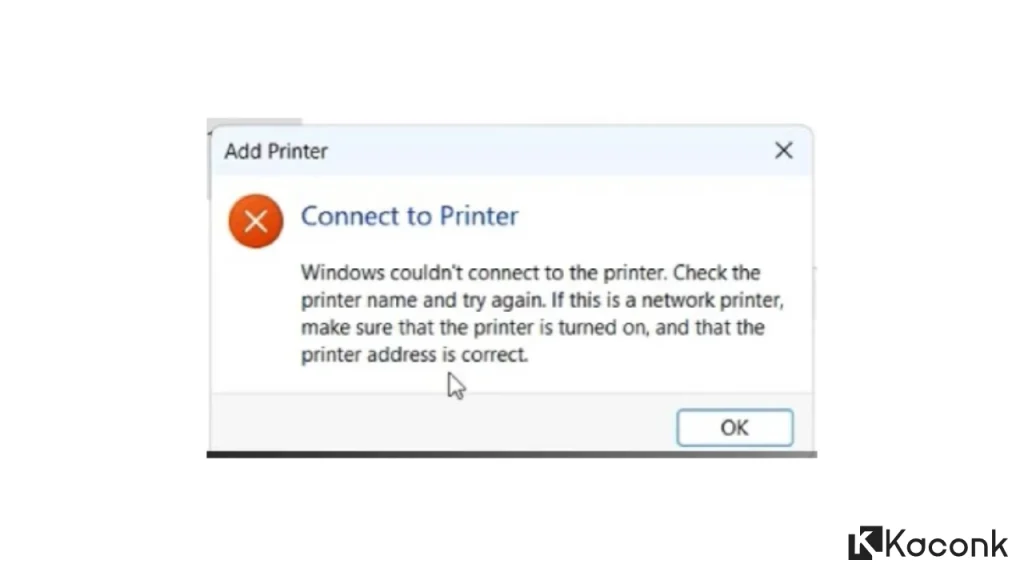
If you are experiencing the “Windows couldn’t connect to the printer. Check the printer name and try again. If this is a network printer, make sure that the printer is turned on, and that the printer address is correct” error when trying to connect to a shared printer, you are not alone.
The “Windows couldn’t connect to the printer” error usually occurs when a client computer tries to connect to a printer shared from another computer on the same network. In this setup, the printer is physically connected to the main or host computer, while other computers access it through printer sharing.
I personally encountered the “Windows couldn’t connect to the printer” problem on Windows 11. After trying several troubleshooting methods, I eventually managed to resolve the issue and connect to the shared printer successfully.
At first, I thought this printer-sharing error was specific to Windows 11. However, after testing the same setup on Windows 10, I found that the problem can also occur on some Windows 10 computers.
The “Windows couldn’t connect to the printer” error can therefore occur on both Windows 10 and Windows 11, particularly when connecting to a printer shared over a local network.
In this tutorial, we will go through several methods to fix the Windows couldn’t connect to the printer error and get your shared printer working again.

The solution is essentially the same regardless of which Windows version you are using. There is no significant difference between Windows 10 and Windows 11 when it comes to fixing this printer-sharing problem. The main difference is the user interface, with Windows 11 offering a more modern and refreshed design.
Below is the method I used to fix the “Windows couldn’t connect to the printer. Check the printer name and try again. If this is a network printer, make sure that the printer is turned on, and that the printer address is correct” error.
Solution: “Windows Couldn’t Connect to the Printer. Check the Printer Name and Try Again”
You need to perform the following steps on the main computer (host computer) where the printer is physically connected and shared over the network.
Step 1: Open Registry Editor
Open Registry Editor on the host computer.
Navigate to the following registry path:
HKEY_LOCAL_MACHINE\SOFTWARE\Policies\Microsoft\Windows NT\Printers
Step 2: Create a New RPC Key
Right-click the Printers key, then select:
New → Key
Name the new key:
RPC
After creating the key, continue with the next configuration step below.

Step 3: Create the Required Registry Values
Right-click the RPC key you created earlier, then select:
New → DWORD (32-bit) Value
Name the new value:
RpcAuthentication
Next, right-click the RPC key again and select:
New → DWORD (32-bit) Value
Name the new value:
RpcUseNamedPipeProtocol
After creating it, double-click RpcUseNamedPipeProtocol and set:
Value data: 1
Click OK to save the changes.

Step 4: Restart the Computer
Once you have finished modifying the Registry settings, restart the computer to apply the changes.
After Windows starts again, try connecting to the shared printer from the client computer.
If the configuration was applied correctly, the “Windows couldn’t connect to the printer” error should no longer appear, and you should be able to connect to the shared printer normally.

This method works on both Windows 10 and Windows 11 for the “Windows couldn’t connect to the printer. Check the printer name and try again. If this is a network printer, make sure that the printer is turned on, and that the printer address is correct” printer-sharing error.
If the previous method did not solve the problem, continue with the following steps. Make sure you have already completed the Registry modification described above before proceeding.
Step 5: Configure Local Group Policy
- Open Local Group Policy Editor. You can follow our guide on how to open Local Group Policy Editor in Windows 10.
- Navigate to:Computer Configuration → Administrative Templates → Printers
- Enable the following settings:Configure RPC connection settings
- Set it to Enabled
- Select RPC over named pipes
- Set it to Enabled
- Select RPC over named pipes and TCP
- Set it to Enabled
- After applying all the settings, restart your PC.
- Once Windows has restarted, try connecting to the shared printer again.
Done! The printer should now be accessible from the client computer if the issue was related to the RPC configuration.

Related Printer Errors
You may also want to read our other tutorials about common printer problems:
- The Printer Driver and/or Utilities Cannot Be Installed on Your Windows System
- Error 0x0000011B When Connecting to a Shared Printer
Conclusion
That is how you can fix the “Windows couldn’t connect to the printer. Check the printer name and try again. If this is a network printer, make sure that the printer is turned on, and that the printer address is correct” error when connecting to a shared printer.
The methods above can be applied to both Windows 10 and Windows 11. In most cases, the problem can be related to RPC configuration, Windows security settings, or communication between the host computer and the client computer.
We hope this tutorial helps you resolve the Windows couldn’t connect to the printer error and successfully connect to your shared printer.
If you have any questions or encounter another problem while following the steps above, feel free to leave a comment. We will be happy to provide further assistance and share additional solutions.
Thank you for reading, and we appreciate all of your feedback and support.
